01Prep and containmentPlastic sheeting on the floor and ZipWall poles to seal the repair area off from the rest of the house. Canvas drop cloths run the whole path from the front door to the work area. Drywall dust is extremely fine and it goes everywhere it is allowed to.
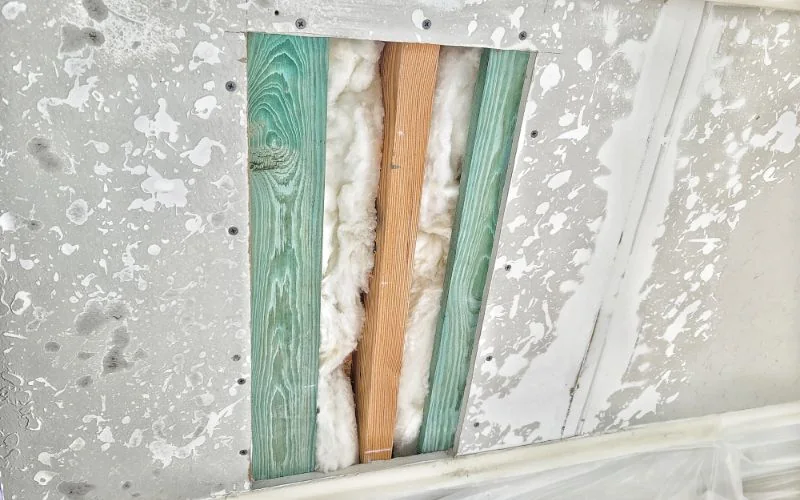
02Identify the extentFind the air conditioning, plumbing and electrical before cutting, not after. Cut without going past the back face of the sheetrock. A saw or even a razor blade used wrong does serious damage to what is behind the wall. Slow and methodical.
03Patch prep and surface sealerGrind the surrounding texture back to the face of the board so the new material lands in the same plane as the old. Wipe the field with a microfiber cloth, then apply a problem surface sealer so fresh mud actually bonds instead of reactivating what is underneath.
04PatchBacking installed and fastened at four to six inches. The board should cup upward. Whether it is a plug patch, a blow-out patch or a full sheet depends on what the opening turned out to be once it was opened up.
05PrepackLarge voids get an initial coat of mud so the tape cannot bulge later. Skip this and hairline cracks come through the face of the tape months down the road.
06Tape and skimFiberglass tape set in adhesive, then multiple coats of mud. Tape overlap is kept to a minimum to hold the height profile of the patch down. The transition from new mud to old is worked with a sponge so there is no hard edge.
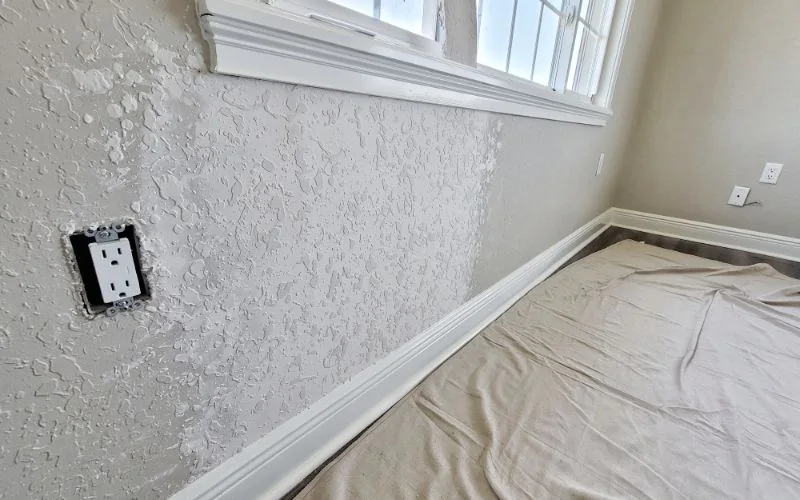
07Texture sprayAround sixty psi with a quarter to three eighths inch nozzle. Test shots against the plastic first so trapped water in the hopper does not land on your ceiling. Then read the splatter field before it is knocked down.
08Knock down and kill the haloLet the texture set up, then wipe it back with a plexiglass blade. The excess around the edge of the repair gets removed. That last step is time consuming and it is the one that other patch attempts skip, which is exactly why you can see them.





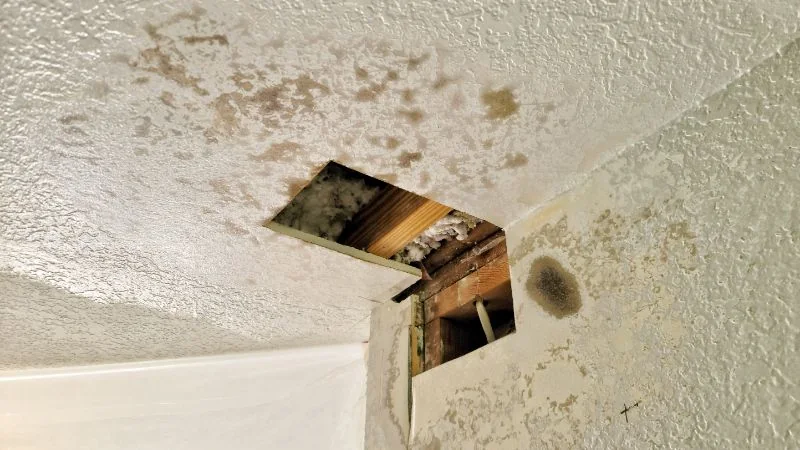
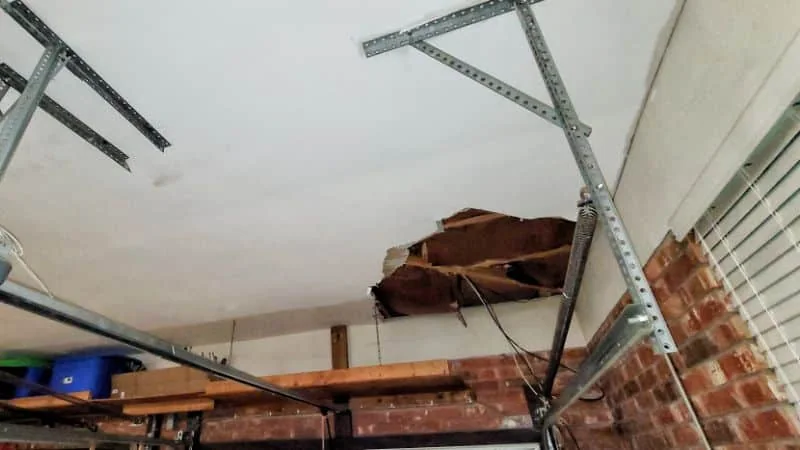
 Before
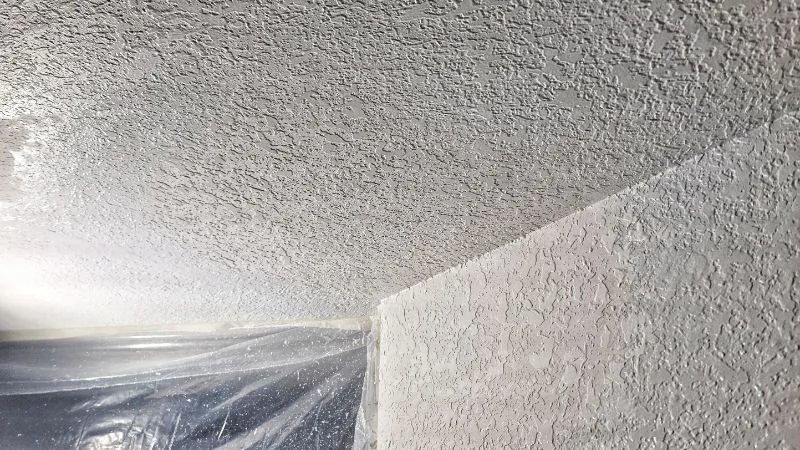
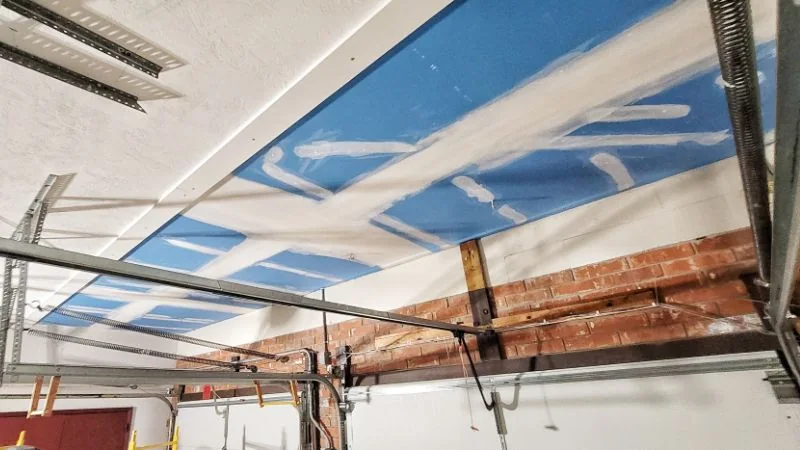
After
Before
After
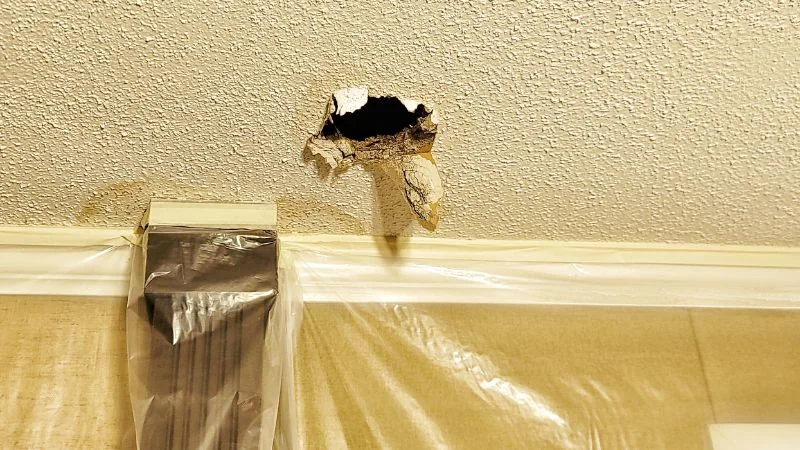
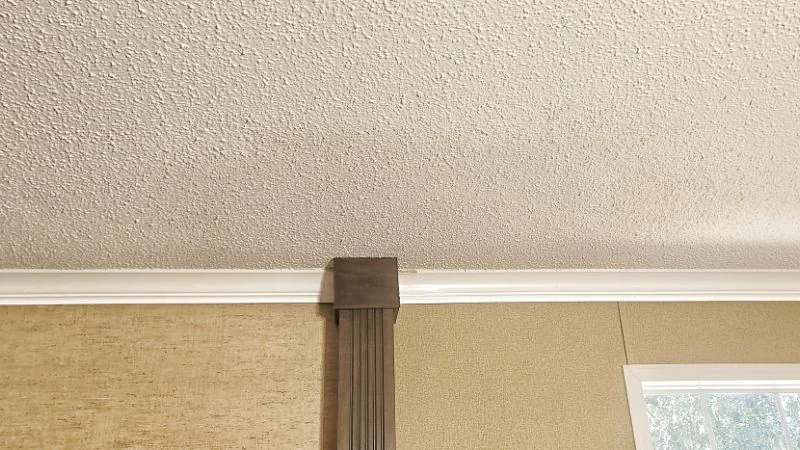
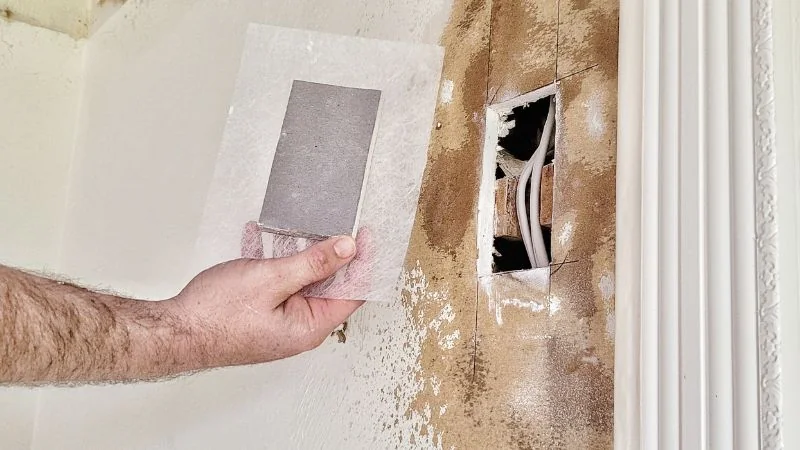
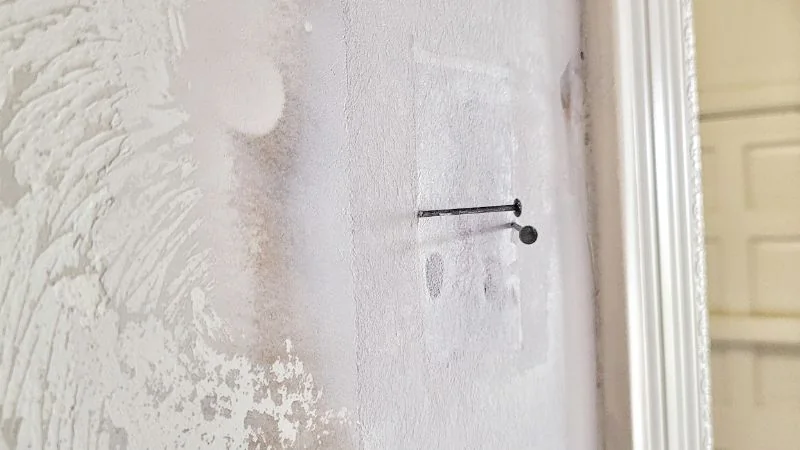
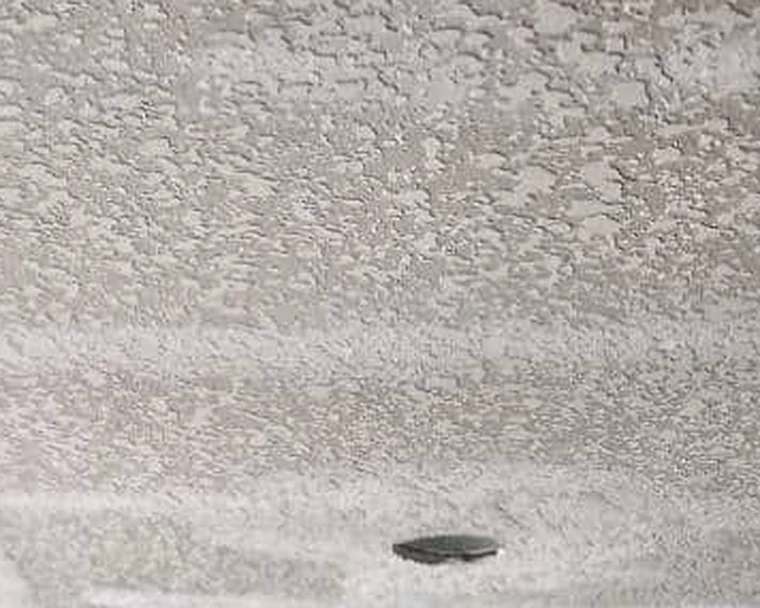 Knockdown
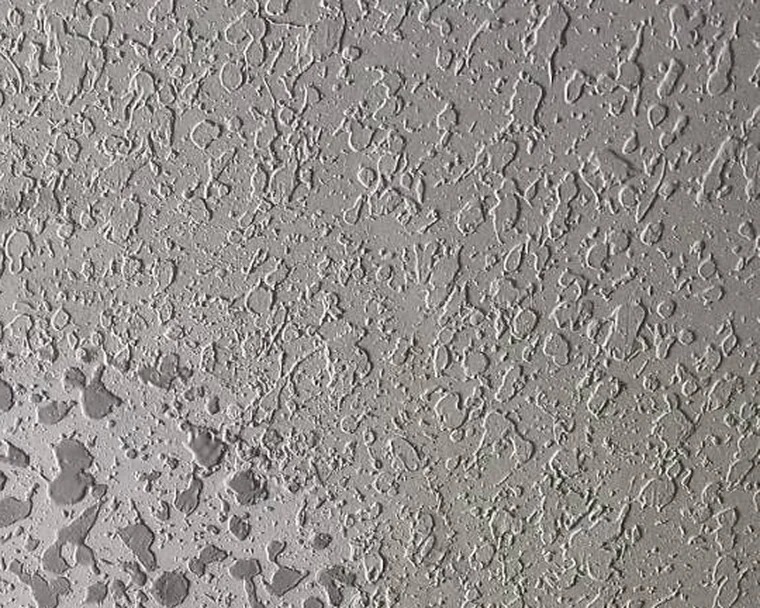 Medium Knockdown
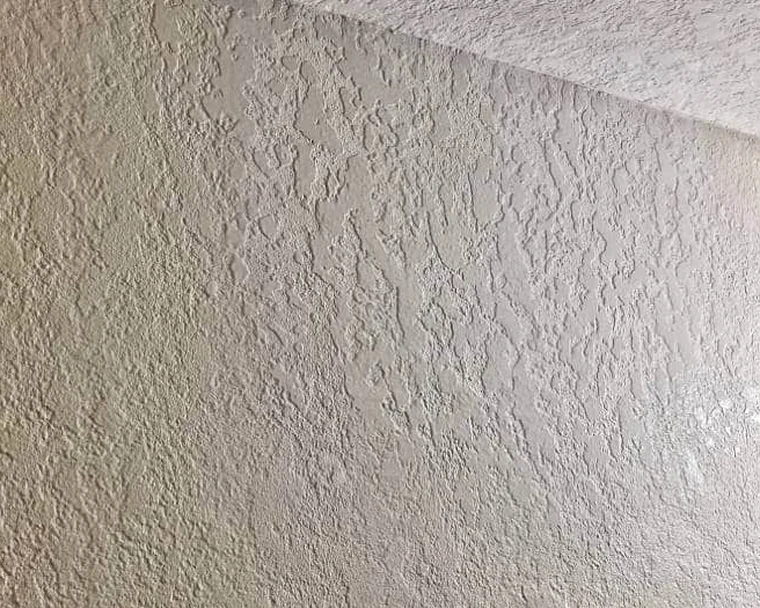 Messy Knockdown
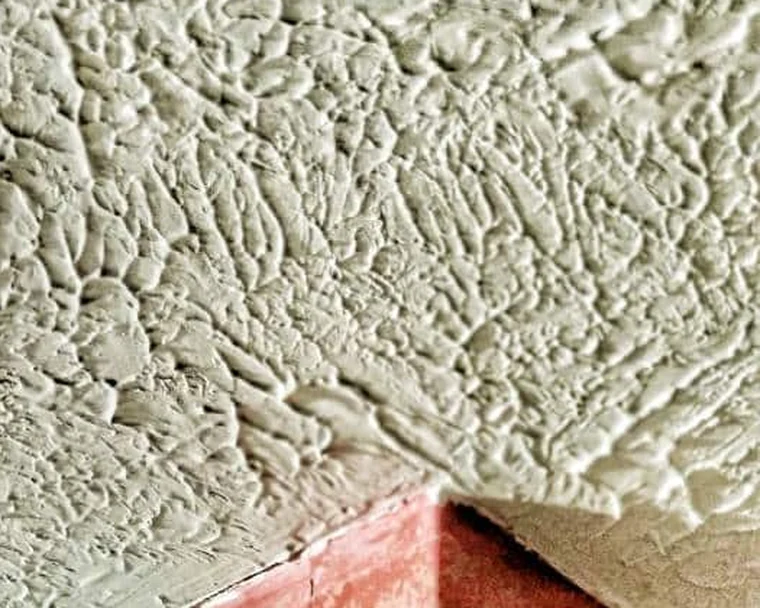 Crow Foot
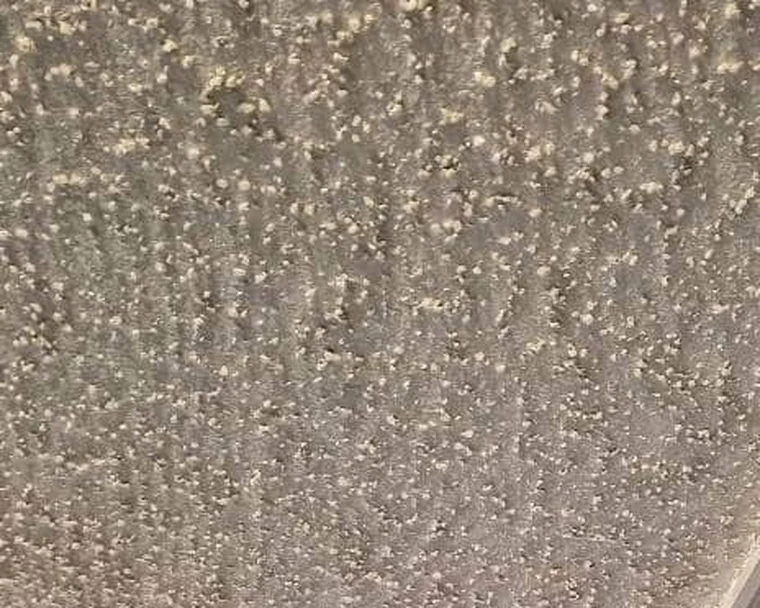 Popcorn
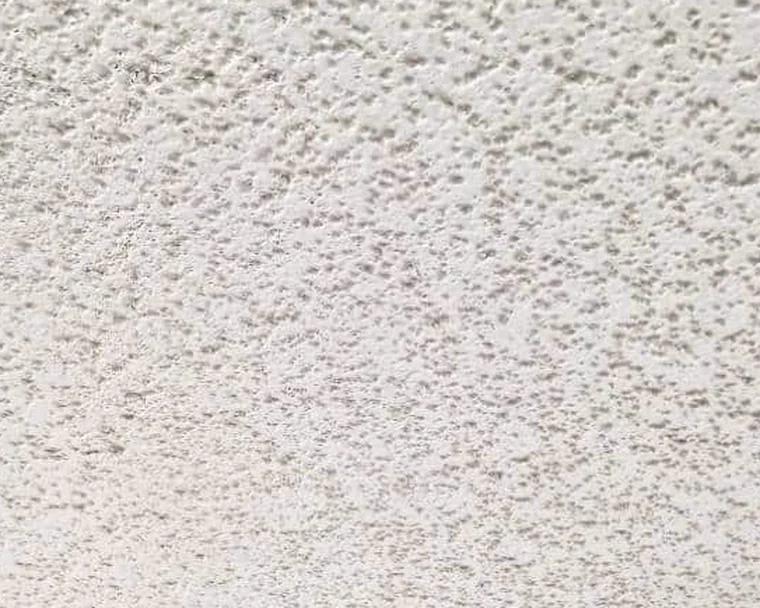 Popcorn, Coarse and Round
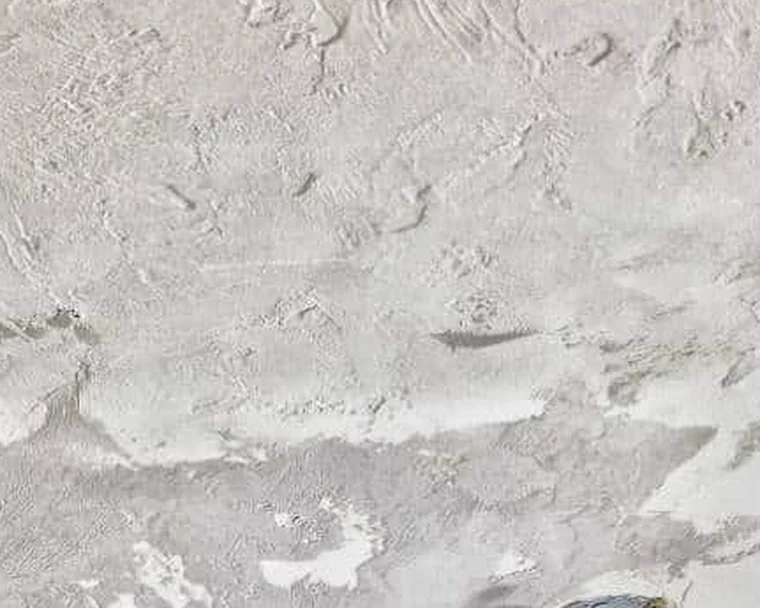 Hawk and Trowel
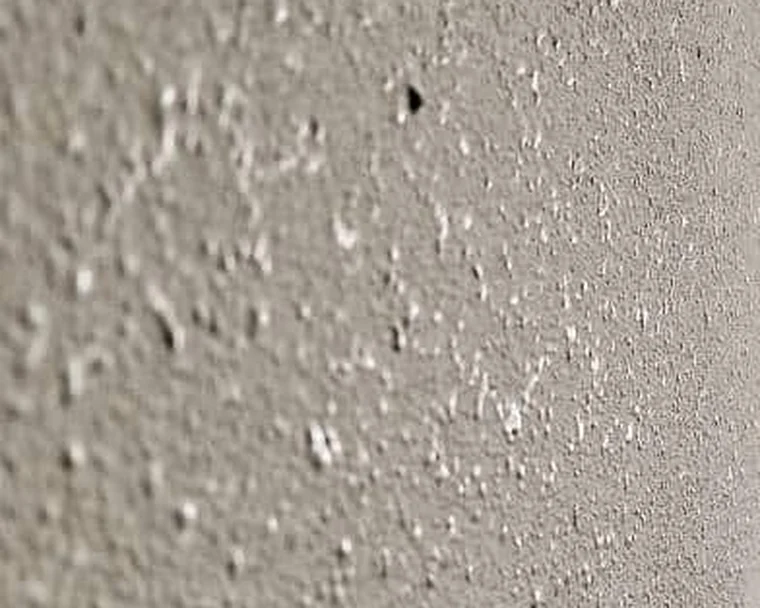 Orange Peel, Regular
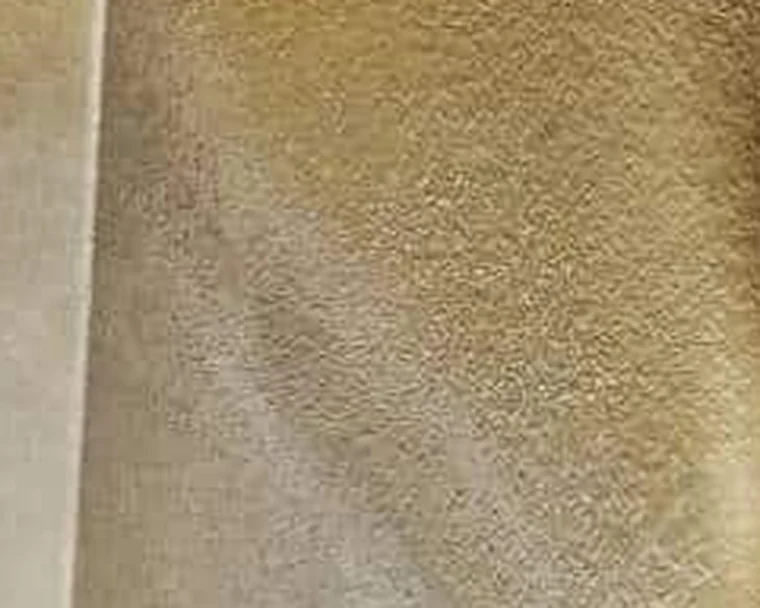 Orange Peel, Splatter
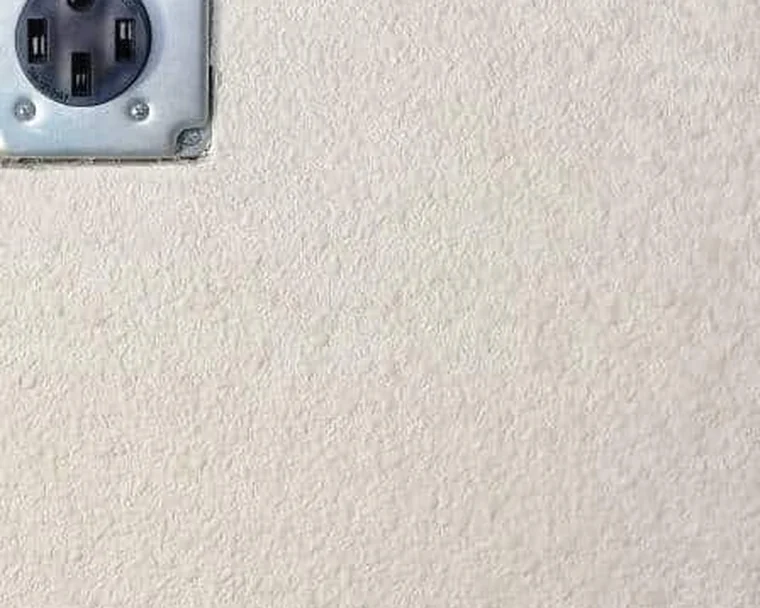 Orange Peel, Typical